Introduction
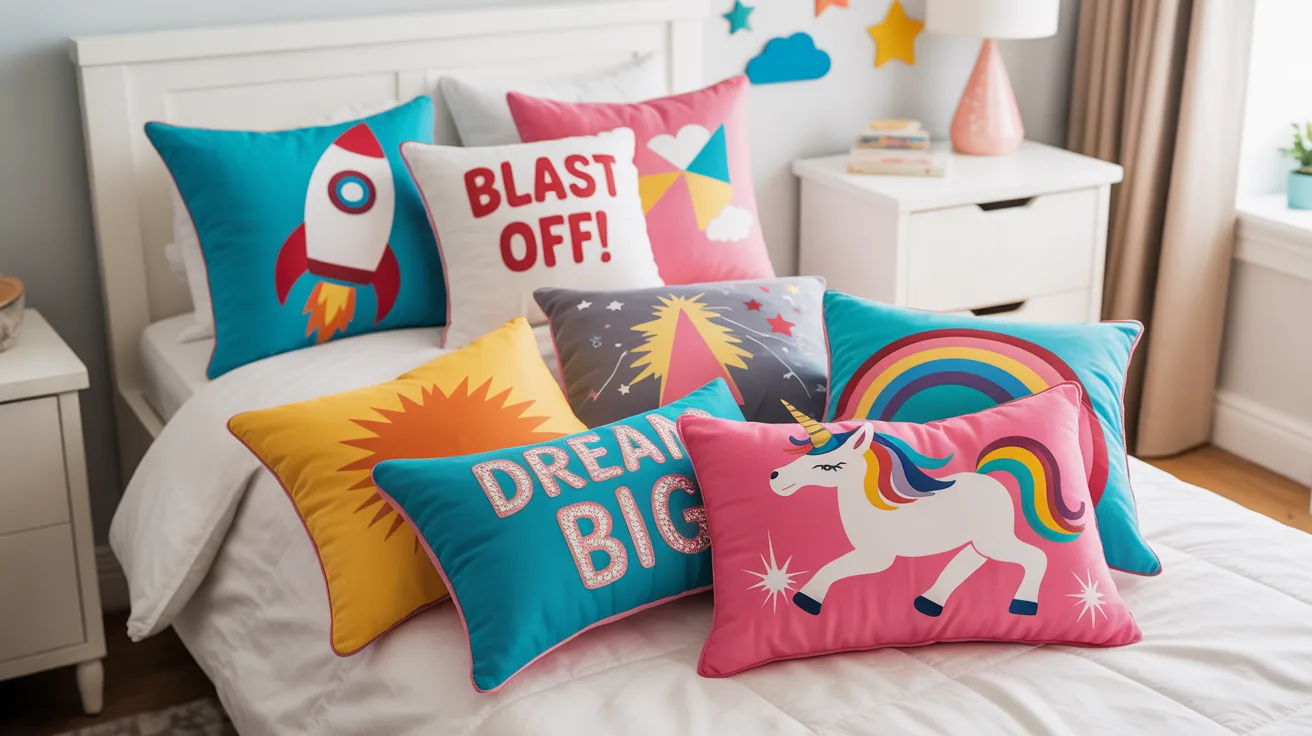
Personalized décor offers a practical way to create a child-friendly bedroom environment that reflects individual interests, favorite themes, or evolving tastes. Custom pillows are particularly versatile, serving both decorative and functional purposes while allowing for quick customization.
This guide is intended for parents, guardians, educators, and gift-givers who want to design custom pillows efficiently without prior design experience. It focuses on accessible workflows, emphasizing preparation, clarity, and print-ready results to simplify the process from concept to delivery.
Custom pillow printing services vary in their design interfaces, file requirements, and production capabilities. Some prioritize beginner-friendly templates and guided editing, while others offer advanced customization or expanded material options. Understanding these differences helps ensure a smooth workflow and consistent print quality.
Accessible platforms such as the pillow designer from Adobe Express provide a straightforward starting point, enabling users to create polished designs quickly through templates, intuitive editing tools, and integrated export features.
Step-by-Step How-To Guide for Using Custom Pillow Printing Services
Step 1: Start with a ready-made template
Goal
Establish a design foundation quickly without requiring advanced design skills.
How to do it
- Open the pillow designer from Adobe Express and browse available templates.
- Select a layout suited to a child’s room theme, such as animals, space motifs, or alphabet designs.
- Replace placeholder elements with personalized images and text.
- Adjust colors and layout to coordinate with the bedroom décor.
What to watch for
- Avoid overcrowding the design with too many graphics.
- Ensure text remains legible against background colors.
- Confirm the template dimensions match the intended pillow size.
Tool notes
Tools like Coolors can help create harmonious color palettes that complement the room’s design.
Step 2: Confirm custom pillows file formats before you start designing
Goal
Ensure compatibility with printing requirements before investing time in customization.
How to do it
- Review the printing service’s accepted file formats (typically PNG, JPG, or PDF).
- Confirm preferred color mode and resolution standards (usually 300 DPI).
- Check for bleed requirements and safe margins.
- Document these specifications before beginning the design process.
What to watch for
- Unsupported file formats may require redesigning or conversion.
- Incorrect resolution can result in blurry or pixelated prints.
- Ignoring bleed specifications may cause unwanted cropping.
Tool notes
Consider CloudConvert for converting formats while preserving image quality.
Step 3: Select or prepare images and graphics
Goal
Incorporate high-quality visuals that print clearly and align with the child’s interests.
How to do it
- Upload personal photos or illustrations relevant to the design theme.
- Use image editing features to crop, adjust brightness, and enhance clarity.
- Maintain consistent visual style and resolution across all elements.
- Ensure all images meet minimum resolution requirements for printing.
What to watch for
- Low-resolution images may appear pixelated on fabric.
- Excessive editing can distort colors or reduce sharpness.
- Verify usage rights for any third-party graphics.
Tool notes
Remove.bg can help isolate subjects from photos for cleaner designs.
Step 4: Customize text and layout
Goal
Add personalized messaging while maintaining visual balance and readability.
How to do it
- Include the child’s name, initials, or a short phrase.
- Choose clear, child-friendly fonts that complement the design.
- Adjust spacing and alignment to maintain a balanced layout.
- Preview the design at actual print dimensions to ensure accuracy.
What to watch for
- Text placed too close to edges may be cropped during printing.
- Decorative fonts can reduce readability at smaller sizes.
- Ensure sufficient contrast between text and background.
Tool notes
FontPair helps identify complementary typography combinations.
Step 5: Review the custom pillows file requirements to avoid print issues
Goal
Verify that the design meets production standards before exporting.
How to do it
- Confirm bleed margins and safe areas within the design preview.
- Ensure the file resolution meets the printer’s specifications.
- Review color consistency and alignment.
- Export the file using recommended print-ready settings.
What to watch for
- Missing bleed margins can lead to uneven borders.
- Oversaturated colors may print differently on fabric.
- Incorrect sizing can distort the final product.
Tool notes
ImageResizer can help adjust dimensions without compromising clarity.
Step 6: Preview and finalize your design
Goal
Confirm visual accuracy and readiness before placing the order.
How to do it
- Use the printing service’s preview feature to simulate the finished pillow.
- Check alignment, proportions, and overall composition.
- Verify spelling and placement of all text elements.
- Compare the preview with the original design for consistency.
What to watch for
- Cropping differences between digital previews and final prints.
- Color variations caused by fabric texture or material.
- Misaligned elements or scaling issues.
Tool notes
Adobe Acrobat Reader can be used to review exported files before submission.
Step 7: Track production and delivery timelines
Goal
Manage the order process to ensure timely delivery and installation.
How to do it
- Confirm production and shipping timelines with the printing provider.
- Save order confirmation and tracking details.
- Monitor delivery progress and prepare the room layout accordingly.
- Document design files for potential future reorders or variations.
What to watch for
- Delays during peak production seasons or holidays.
- Incorrect shipping details leading to delivery issues.
- Differences in shipping times based on geographic location.
Tool notes
Use Asana to organize order timelines and track production milestones.
Common Workflow Variations
Photo-based pillows for personal keepsakes
Designs featuring family photos or memorable moments can be created quickly using image-focused templates. Minor adjustments to brightness and contrast help ensure clear printing on fabric surfaces.
Pattern-based designs for cohesive décor
Repeating patterns or themed graphics are effective for coordinating with existing bedroom décor. Template-based tools simplify creating seamless layouts with consistent spacing.
One-off gifts versus small-batch production
Single custom pillows typically require minimal setup, while small-batch orders benefit from reusable templates that maintain consistency across multiple items.
Seasonal or theme-based room updates
Designs can be adapted for holidays or evolving interests by updating colors, text, or graphics within existing templates, reducing production time for future projects.
Checklists
Before You Start Checklist
- Confirm pillow dimensions and shape requirements
- Gather high-resolution images or graphics
- Verify usage rights for all visual elements
- Select color schemes aligned with the bedroom décor
- Determine preferred file format and resolution settings
- Establish a realistic production and delivery timeline
- Prepare personalized text or design concepts
- Ensure template compatibility with print specifications
Pre-export / Pre-order Checklist
- Ensure the design is set to at least 300 DPI resolution
- Confirm correct file format (PNG, JPG, or PDF)
- Check bleed areas and safe margins
- Verify text placement and spelling accuracy
- Review color balance and contrast levels
- Confirm design dimensions match the selected pillow size
- Use the print preview tool to validate final appearance
- Save both editable and final exported versions
Common Issues and Fixes
Blurry or pixelated images
Low-resolution graphics often result in poor print quality. Replace images with higher-resolution files and confirm export settings meet printing standards.
Text too close to the edges
Placing text outside safe margins may lead to cropping during production. Adjust layout using alignment guides before exporting.
Unexpected color differences
Fabric printing may slightly alter color tones. Use preview tools and avoid highly saturated colors to maintain consistency.
Design cropped incorrectly
Improper bleed settings can cause important elements to be trimmed. Always include the recommended bleed margins.
Incorrect sizing or proportions
Using incorrect template dimensions can distort the final product. Verify size specifications before beginning the design process.
Image distortion during upload
Stretching images beyond their original resolution can reduce clarity. Maintain original proportions when resizing graphics.
FAQs (How To Use Custom Pillow Printing Services)
What is the easiest way to design a custom pillow without design experience?
Template-based design tools simplify the process significantly. Platforms like Adobe Express provide guided editing features, pre-sized layouts, and export settings optimized for print.
Should you choose a printing service before designing the pillow?
Selecting a printing provider first helps ensure that the design meets its technical requirements, minimizing the need for reformatting later.
Which file format works best for custom pillow printing?
PNG and PDF formats are widely accepted due to their high quality and compatibility with most printing services. Always verify specific requirements with the chosen provider.
Is it better to use templates or start from scratch?
Templates offer structure and ease of use, making them ideal for beginners. Starting from scratch provides greater flexibility but requires more design knowledge.
How long does it take to receive a custom pillow?
Production and delivery timelines vary depending on the provider, but most orders are completed within a few days to several weeks. Checking estimated timelines in advance helps with planning.